by Amy | Nov 24, 2021 | Analytics Reporting, Root & Roam Blog, Website
Selling on Shopify – As the world is ever-changing, more and more people are doing their shopping online. From basic necessities to clothing and groceries, just about everything is available for purchase through the World Wide Web. Perhaps you have a brick and...
by Amy | Oct 26, 2021 | Digital Marketing, Event Marketing, Public Relations, Root & Roam Blog, Traditional Marketing
TABLE OF CONTENTS $ Holiday Offer $ Holiday Marketing Goals $ Campaign Key Performance Indicators $ Holiday Marketing Campaign Target Audience and Personas $ Holiday Campaign Budget $ Holiday Marketing Action Items $ Get to Work On Your Marketing Plan $ Holiday...
by Amy | Sep 24, 2021 | Digital Advertising, Digital Marketing, Root & Roam Blog, Social Media
When putting together your social media strategy, you should always consider the tools available to help you meet your goals. A popular tool for over a decade has been the famous hashtag. Hashtags are powerful tools that can help your target audience find you...
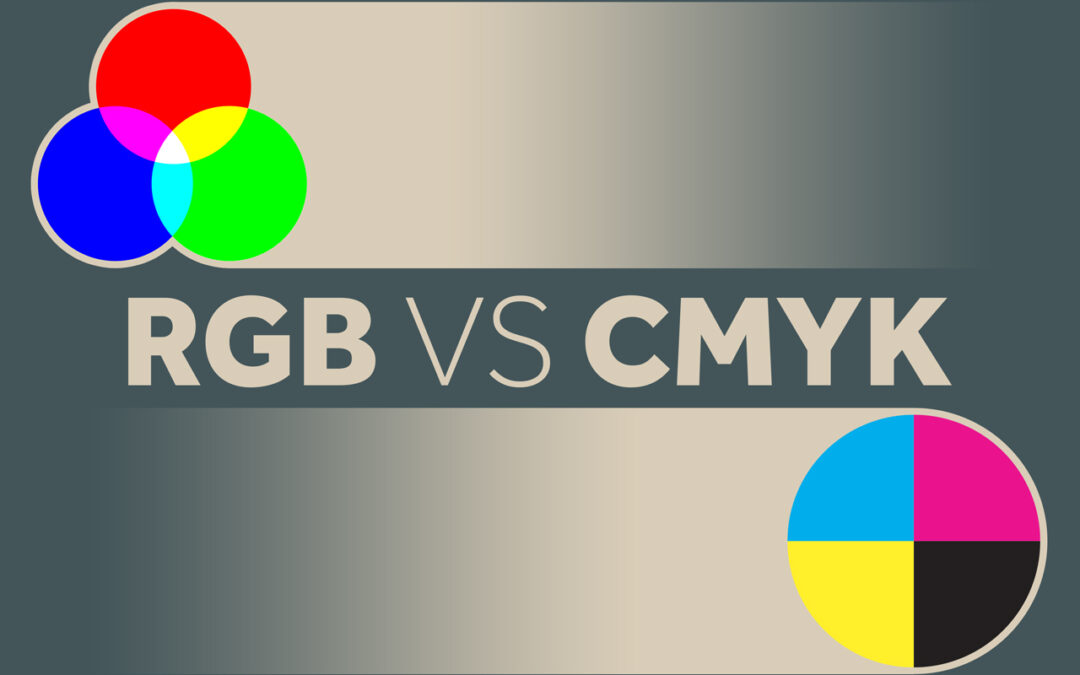
by Amy | Aug 20, 2021 | Branding, Creative Services, Digital Marketing, EDDM, Graphic Design, Root & Roam Blog, Website
RGB vs CMYK – What is the difference between RGB and CMYK? Simply put, it’s just different ways of processing colors. Painters mix paint to make the perfect color palette. Digital designers also mix colors to create palettes, photography, and more. CMYK is the...
by Amy | Aug 5, 2021 | Creative Services, Photography, Root & Roam Blog, Social Media
iPhone Professional Photography 101 – Instagram is a wildly popular social media platform. Based on its active monthly users, we’re willing to bet you are familiar with it and most likely an active user yourself. With over 1 billion active users monthly...
by Amy | Jun 29, 2021 | Branding, Creative Services, Digital Marketing, Graphic Design, Traditional Marketing
Rebranding could be the difference between reaching your company’s full potential or being left behind. Staying ahead in any niche is a constant race. To keep your brand relevant, you need to be willing to do what it takes to make it stand out to consumers. A rebrand...